Real Time PBL Vulkan Renderer
Goals & Planning
My inspiration for this project came from our graphics programming course (Shortened to TGP) . We had to make a graphics engine to render using physically based lighting using DirectX 11. I wanted to see how Vulkan differs from Dx11 and try using it to build a graphics engine.
My original goal was to trace the same steps we took during TGP and implement PBL, shadow mapping, animations and if I had time I was going to implement particles. I also had to plan in time to finish two courses that were still ongoing as well as time to create this website.
Week 1
I started by looking up a lot of resources about Vulkan. I found this tutorial https://vkguide.dev/. I chose it because it was nicely set up and easily searchable. The tutorial also had a link to the GitHub for all of the source code. It also contained a chapter on how to implement ImGui which I wanted to do.
I started setting up my development environment using CMake, which was recommended to me by a classmate who was also using it. During previous project I had used a Premake project which was given to us by TGA which I had customized for my own use. But I personally found it easier to use and set up CMake.
I spent the rest of the week starting to initialize Vulkan and getting it ready to render.
Week 2
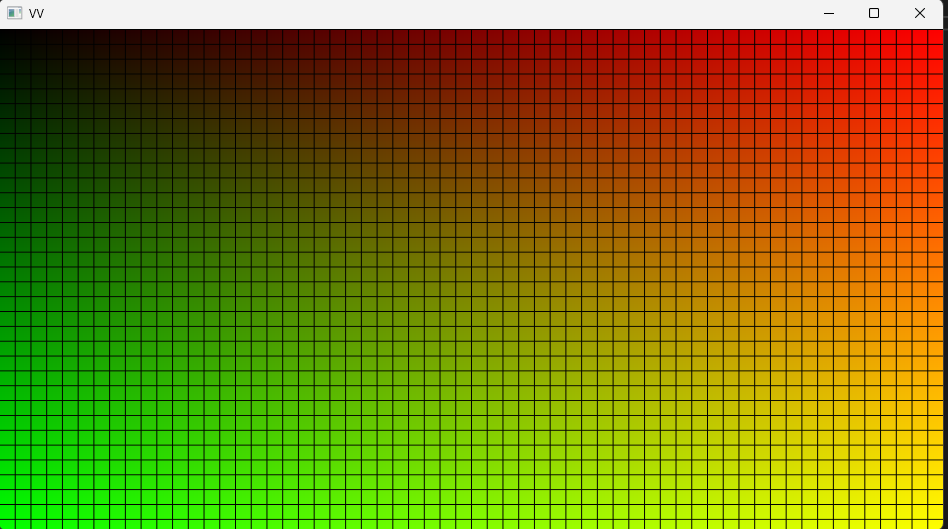
Here is where the first struggle came, compiling shaders. I originally wanted the shaders to compile automatically when I run the project but I struggled with creating the post build command and ended up creating a command that was used when I ran the CMake script, I later moved that command over to it’s own script. I got the shader to compile and finally got something else than a black screen.
I also tried to implement ImGui as the tutorial showed, but it would not show up on screen. I looked through my code and used RenderDoc to see what the graphics engine was doing. I saw the ImGui commands go through the vertex and fragment shader, but it didn’t render onto my back buffer.
Week 3
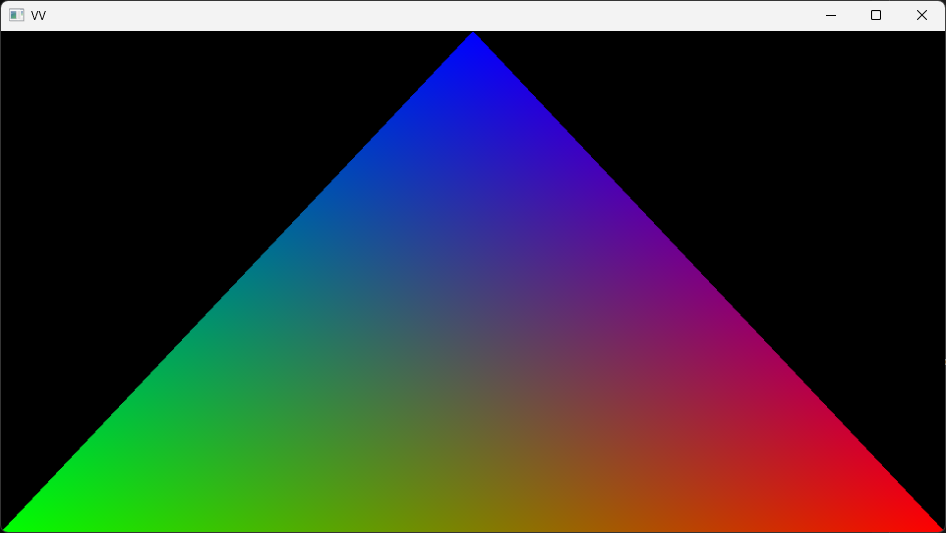
Things started to work. I found the issue as to why ImGui wasn’t rendering. I had forgotten to set a value telling ImGui how many layers I was using. Which I had set to 0, which told ImGui that I didn’t want to render anything. Changing that I got ImGui to render and could finally move on to making a vertex and pixel shader to get the first triangle.
Which went without a problem.
Now I was looking into how I was going to load external models. I decided to try out an external library called ufbx to load in fbx models, as it’s a well used format and it’s the format we mainly use at TGA during the game projects.
TGA has provided us with an FBX importer that reads the fbx file and places the data into a format that we were taught how to use during TGP. But now I was dealing with the raw fbx data.
After reading the ufbx documentation and examples, and a lot of trial and error I got an external model loaded.
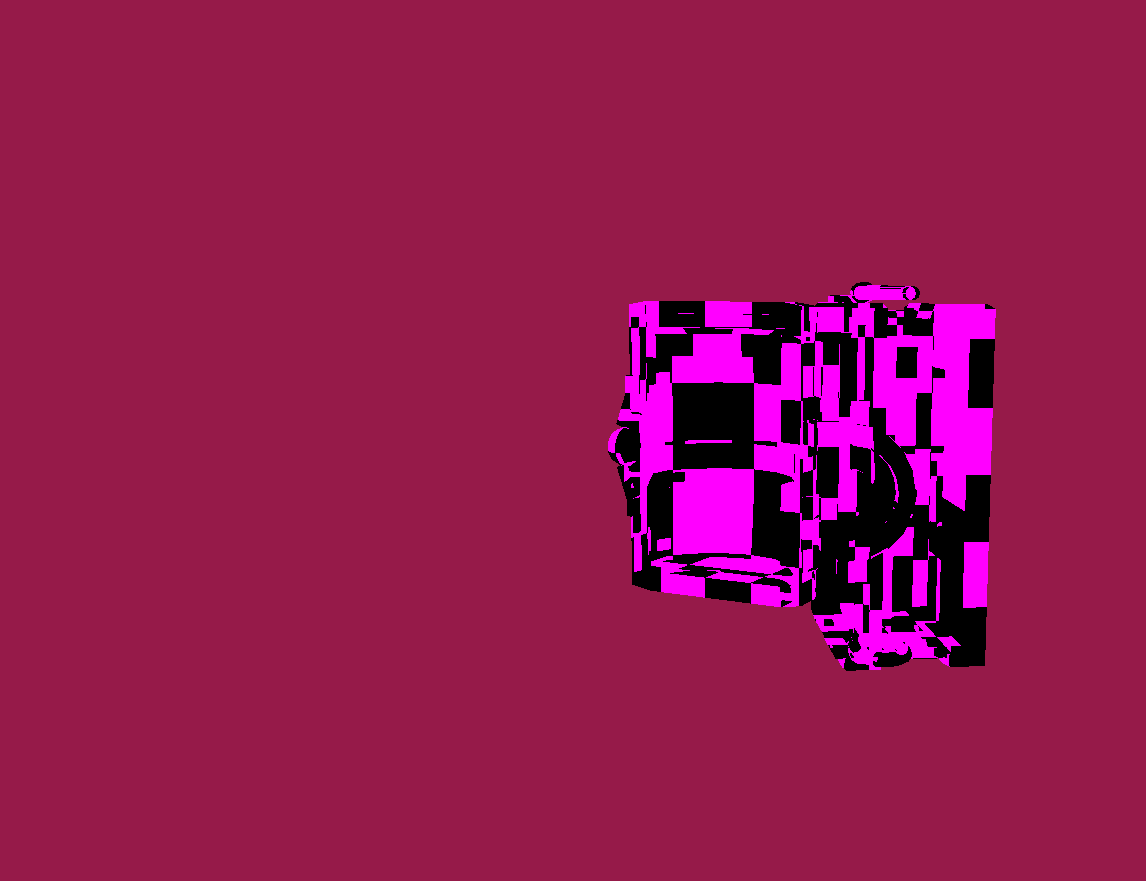
This is a chest model used a lot in TGA as a test model.
Affectual called “Chester”
Week 4
This week I spent on loading textures and adding them to the graphics engine. During TGP and in the game projects we use .dds files. But as this project was all about trying new tools I decided to use and external library called stbi to load in .png files instead.
The rest of the week was spent on creating a small EC or Entity Component system to more easily place out objects in the world and be able to handle assets in a more systematic instead of having assets as member variables in the engine itself.
Week 5
With external models loaded I moved on to trying to get animations working. But even after trying for the whole week I could not get the animations to work. Looking back at it I think the issue was two fold, incorrect loading of the meshes bind pose and incorrect loading of the joint transforms while importing the animation file. While I was working and struggling with the animations I told myself that if I could not get the animations to work by the end of the week I would scrap it and move on to actually adding the Physically Based Lighting. I was already a bit behind on my planning and animations were more of a nice to have than necessary for the project.
Week 6
I did not manage to implement animations and moved on to implementing PBL. I already had the calculations from when we did them in TGP, I just had to translate them from HLSL to GLSL which wasn’t too difficult. The first thing I implemented was a directional light. As it would serve as a good test to send up data to the GPU and my rendering flow.
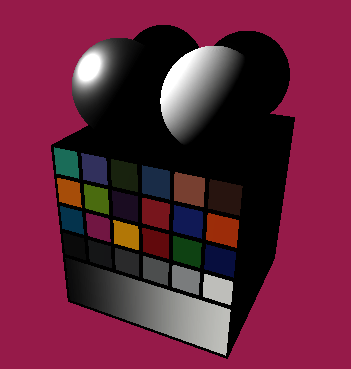
And it works. Now I wanted to test it on a bit of a bigger model, and I was recommended to try using the Sponza main scene from Intel (Link here).
But when I tried to render it I realized that my mesh loading did not work correctly.
I spent the most of the week rewriting my code for importing models. I managed to have the Sponza model load in correctly pretty quickly. But when I looked at it the lighting it did not look correct. I rendered out the normals and found that there were none. After a bit of digging I found that I had assumed the model had tangents which it didn’t. I started looking up different methods to generate tangents and found a blog post talking about generating the tangents using the models UVs to find the correct tanget vectors.(Link to Blog Post)
After implementing this method the normals were finally correct and the lighting was also correct.
Week 7
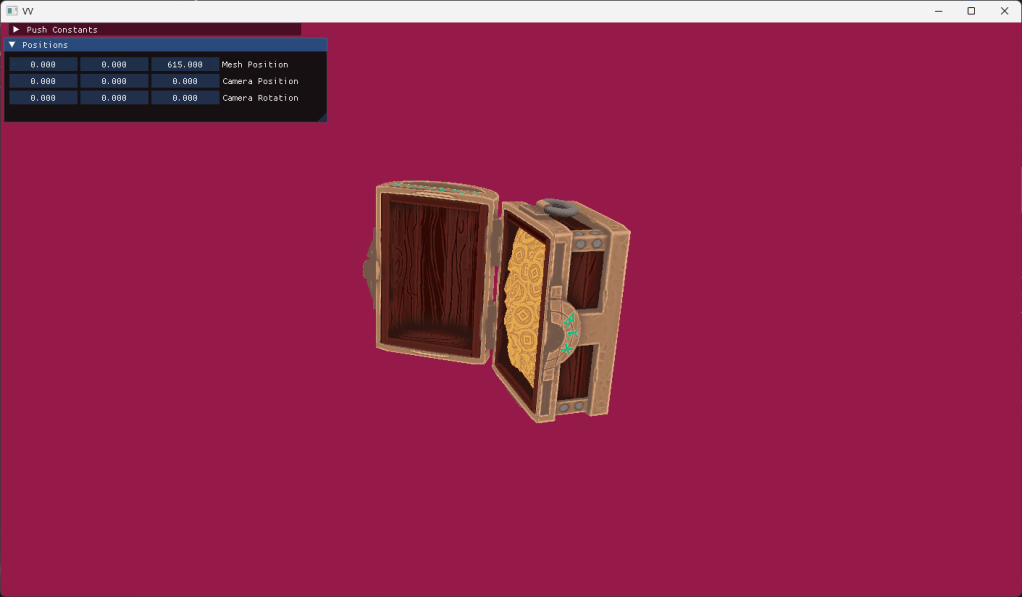
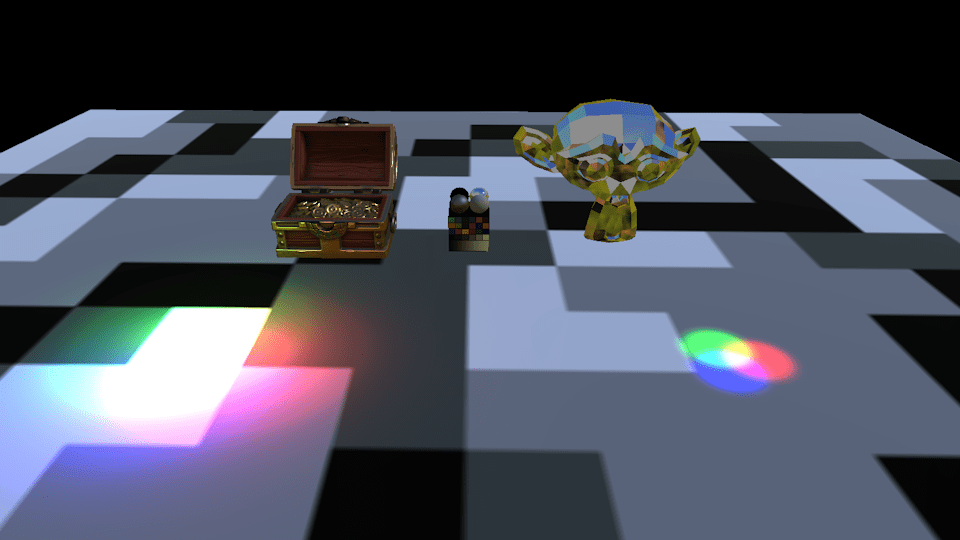
The final week and I was way behind on planning. I decided to not do shadow mapping within the time left and instead focused on getting the other light sources which includes ambient lighting from point and spot lights as well as ambient lighting from a cubemap. While the point and spot light were no issue because when I made the directional light I already added everything I would need to render point and spot lights. But when I started working on adding the ambient lighting I noticed that my texture import did not support loading in cubemaps, at least not in a format that I could easily send use in Vulkan, I had to add the ability to create cubemaps in my Vulkan interface. But after all of this I ended up with this.

Closing thoughts
It has been very interesting to work on this project and I learned a lot. I was able to accomplish quite a lot within the short time frame even if I didn’t manage to do everything I originally set out to do. All in all I still have a lot to learn about Vulkan. Especially about how memory is handled at a lower level. In this project I made use of the vma library (Vulkan Memory Allocation). This was because the tutorial I was following used it and I wanted to get the program up and running.
There are still a few things I want to add. Mainly shadows using shadow mapping and support for animated models. But other things I would like to do is get rid of my dependency on vma to gain a deeper understanding of how to manage the memory. Lastly refactoring, most of the project I have been able to keep clean, but specifically my Vulkan interface class is a mess and does a lot more than it really should. But that is for the future.
Thank you for reading!
Real Time PBL Vulkan Renderer
Goals & Planning
My inspiration for this project came from our graphics programming course (Shortened to TGP) . We had to make a graphics engine to render using physically based lighting using DirectX 11. I wanted to see how Vulkan differs from Dx11 and try using it to build a graphics engine.
My original goal was to trace the same steps we took during TGP and implement PBL, shadow mapping, animations and if I had time I was going to implement particles. I also had to plan in time to finish two courses that were still ongoing as well as time to create this website.
Week 1
I started by looking up a lot of resources about Vulkan. I found this tutorial https://vkguide.dev/. I chose it because it was nicely set up and easily searchable. The tutorial also had a link to the GitHub for all of the source code. It also contained a chapter on how to implement ImGui which I wanted to do.
I started setting up my development environment using CMake, which was recommended to me by a classmate who was also using it. During previous project I had used a Premake project which was given to us by TGA which I had customized for my own use. But I personally found it easier to use and set up CMake.
I spent the rest of the week starting to initialize Vulkan and getting it ready to render.
Week 2
Here is where the first struggle came, compiling shaders. I originally wanted the shaders to compile automatically when I run the project but I struggled with creating the post build command and ended up creating a command that was used when I ran the CMake script, I later moved that command over to it’s own script. I got the shader to compile and finally got something else than a black screen.
I also tried to implement ImGui as the tutorial showed, but it would not show up on screen. I looked through my code and used RenderDoc to see what the graphics engine was doing. I saw the ImGui commands go through the vertex and fragment shader, but it didn’t render onto my back buffer.
Week 3
Things started to work. I found the issue as to why ImGui wasn’t rendering. I had forgotten to set a value telling ImGui how many layers I was using. Which I had set to 0, which told ImGui that I didn’t want to render anything. Changing that I got ImGui to render and could finally move on to making a vertex and pixel shader to get the first triangle.
Which went without a problem.
Now I was looking into how I was going to load external models. I decided to try out an external library called ufbx to load in fbx models, as it’s a well used format and it’s the format we mainly use at TGA during the game projects.
TGA has provided us with an FBX importer that reads the fbx file and places the data into a format that we were taught how to use during TGP. But now I was dealing with the raw fbx data.
After reading the ufbx documentation and examples, and a lot of trial and error I got an external model loaded.
This is a chest model used a lot in TGA as a test model.
Affectual called “Chester”
Week 4
This week I spent on loading textures and adding them to the graphics engine. During TGP and in the game projects we use .dds files. But as this project was all about trying new tools I decided to use and external library called stbi to load in .png files instead.
The rest of the week was spent on creating a small EC or Entity Component system to more easily place out objects in the world and be able to handle assets in a more systematic instead of having assets as member variables in the engine itself.
Week 5
With external models loaded I moved on to trying to get animations working. But even after trying for the whole week I could not get the animations to work. Looking back at it I think the issue was two fold, incorrect loading of the meshes bind pose and incorrect loading of the joint transforms while importing the animation file. While I was working and struggling with the animations I told myself that if I could not get the animations to work by the end of the week I would scrap it and move on to actually adding the Physically Based Lighting. I was already a bit behind on my planning and animations were more of a nice to have than necessary for the project.
Week 6
I did not manage to implement animations and moved on to implementing PBL. I already had the calculations from when we did them in TGP, I just had to translate them from HLSL to GLSL which wasn’t too difficult. The first thing I implemented was a directional light. As it would serve as a good test to send up data to the GPU and my rendering flow.
And it works. Now I wanted to test it on a bit of a bigger model, and I was recommended to try using the Sponza main scene from Intel (Link here).
But when I tried to render it I realized that my mesh loading did not work correctly.
I spent the most of the week rewriting my code for importing models. I managed to have the Sponza model load in correctly pretty quickly. But when I looked at it the lighting it did not look correct. I rendered out the normals and found that there were none. After a bit of digging I found that I had assumed the model had tangents which it didn’t. I started looking up different methods to generate tangents and found a blog post talking about generating the tangents using the models UVs to find the correct tanget vectors.(Link to Blog Post)
After implementing this method the normals were finally correct and the lighting was also correct.
Week 7
The final week and I was way behind on planning. I decided to not do shadow mapping within the time left and instead focused on getting the other light sources which includes ambient lighting from point and spot lights as well as ambient lighting from a cubemap. While the point and spot light were no issue because when I made the directional light I already added everything I would need to render point and spot lights. But when I started working on adding the ambient lighting I noticed that my texture import did not support loading in cubemaps, at least not in a format that I could easily send use in Vulkan, I had to add the ability to create cubemaps in my Vulkan interface. But after all of this I ended up with this.
Closing thoughts
It has been very interesting to work on this project and I learned a lot. I was able to accomplish quite a lot within the short time frame even if I didn’t manage to do everything I originally set out to do. All in all I still have a lot to learn about Vulkan. Especially about how memory is handled at a lower level. In this project I made use of the vma library (Vulkan Memory Allocation). This was because the tutorial I was following used it and I wanted to get the program up and running.
There are still a few things I want to add. Mainly shadows using shadow mapping and support for animated models. But other things I would like to do is get rid of my dependency on vma to gain a deeper understanding of how to manage the memory. Lastly refactoring, most of the project I have been able to keep clean, but specifically my Vulkan interface class is a mess and does a lot more than it really should. But that is for the future.
